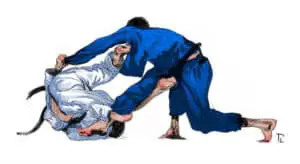
So you want learn how to blast double your opponent or send them flying with an Uchi Mata, but don’t know where to start? Have no fear in this article we will explore the most effective training methodology relating to learning takedowns and how you can quickly take your takedown game to the next level.
How do you learn takedowns? To learn takedowns you need to learn how to move in stance, set up, shoot and finish the takedown. These 3 elements needs to be practiced against no resistance and with varying levels of resistance. You should start with drilling, then play wrestling and finally medium-high intensity live rounds of positional and free sparring.
Stance
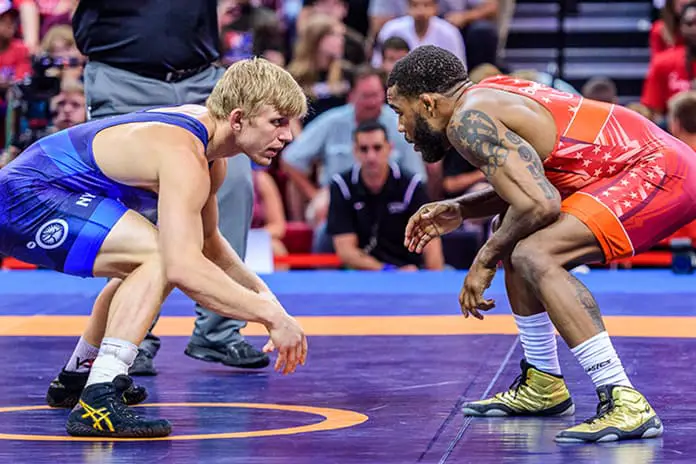
To learn takedowns you need to first start with your body positioning, known in wrestling as your stance. If your positioning is incorrect before you even start to attack a takedown it is going to be very difficult to finish. An optimal wrestling stance will put you in position to powerfully and explosively finish takedowns while also preventing your opponent from taking you down.
An optimal wrestling stance involves a staggered stance with one foot in front of the other, this is known as a sugar foot stance. Your legs should be about shoulder width apart. Your legs should not be split to wide as this leaves your front foot exposed to single leg attacks. To know if your feet are split too far apart, check your positioning, your head should be in line with the end of your lead foot.
Once your feet are in the correct position you then want to bend your legs and crouch down. You want to keep your back as straight as possible and use your legs to get low to the ground. To check if your stance is lower enough you should always be able to touch the mat with your hand.
Your elbows should be tucked tight, ready to prevent your opponent from establish a body lock and your hands open should open ready to make contact with your opponent. You should be looking slightly up maintaining a strong straight neck to prevent your opponent from snapping your head and taking a headlock.
When moving in stance you need to maintain your stance at all times. To do this you move one leg first and then the other. The leg you move first is closest to the direction you want to travel. For example if you want to move forward you move your lead leg followed by your back leg. If you want to move backwards you move your back leg first.
Here Is A Great Video Showing You To Get Into And Move In An Wrestling Stance By Cary Kolat (world silver medalist, 2 time NCAA champion)
Set Ups And Hand Fighting
Once you know how to maintain and move in an optimal wrestling stance now you need to learn how to set up your takedowns. Setting up your takedowns can be very tricky, hand fighting is somewhat of a dark art. You will come across wrestlers who effortlessly slip your ties and get to your legs and then you will come across wrestlers who feel like superglue and no matter what you do you can’t break their grips.
The first step in hand fighting is knowing what you want to achieve. Ideally you want inside position. This gives you high levels of control over your opponent and puts you in a great position to finish takedowns while it makes it difficult for your opponent to defend. Typical inside control includes underhook, body lock, grabbing each bicep of your opponent and front headlock. These are all very strong inside control positions and you will come across them a lot.
To achieve inside position you want to be using a variety of tactics. These include circling, pushing and pulling your opponent’s body, driving them out of position with your head (try to get your forehead on their temple), snapping on their head, pushing and pulling on their arms. Once you have to have cleared their grips on you and ideally you have inside position you will be in an optimal position to start attacking takedowns
Shooting
The next phase after you have cleared your opponent’s ties and have identified a clear path to their legs is figuring out how to move your body to your opponent’s legs. To quickly and effectively get to your opponent’s legs you want to lower your stance, place your weight on your back leg, and drive off hard. This motion is known as shooting.
You want to drive in the a straight line and as you make contact with your opponent you want to either stand up or keep driving straight. The most important thing to remember when shooting takedowns is to look up keep a straight back and drive straight ideally with a slightly upward motion. If you drive into the mat or look down it becomes easy for your opponent to sprawl and prevent your takedown.
When you are shooting particularly if you are shooting from a low stance your front knee will likely touch the mat. You should aim to make as little contact with mat as possible. Instead of your knee driving into mat it should lightly sweep past it. Once your knee makes contact with mat let your momentum carry you forward. Your rear leg should over take your downed knee and you should end up in a lunge position allowing you to continue driving forward or stand up.
Here Is Cary Kolat Demonstrating How To Shoot A Takedown
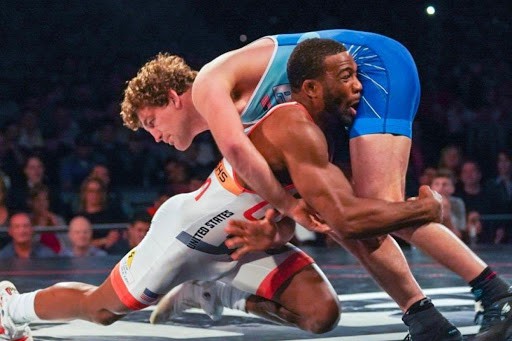
Finishing Takedowns
Once you have taken a pretty shot your work isn’t done. You now need to finish the takedown. To finish the takedown you first need to wrap your arms around your opponent’s legs. You can use a variety of grips to secure a hold of the legs. I recommend wrapping one arm around and then securing the leg by grabbing your own wrist with a thumb less grip.
Once you have the legs secured you need to keep driving with your legs. You can choose stand up and lift your opponent. This can be difficult to do but it gives you highest percentage chance of finishing or you can stay on your knees and keep moving. You also need to drive with your head. Your head should be driving in the direction you want your opponent to land.
As you are driving you should lift the legs to further unbalance your opponent. Once you feel your opponent’s balance going to then need to change direction (cut a corner) to take your opponent safely to the mat.
Here Is Cary Kolat Demonstrating A Double Leg Takedown
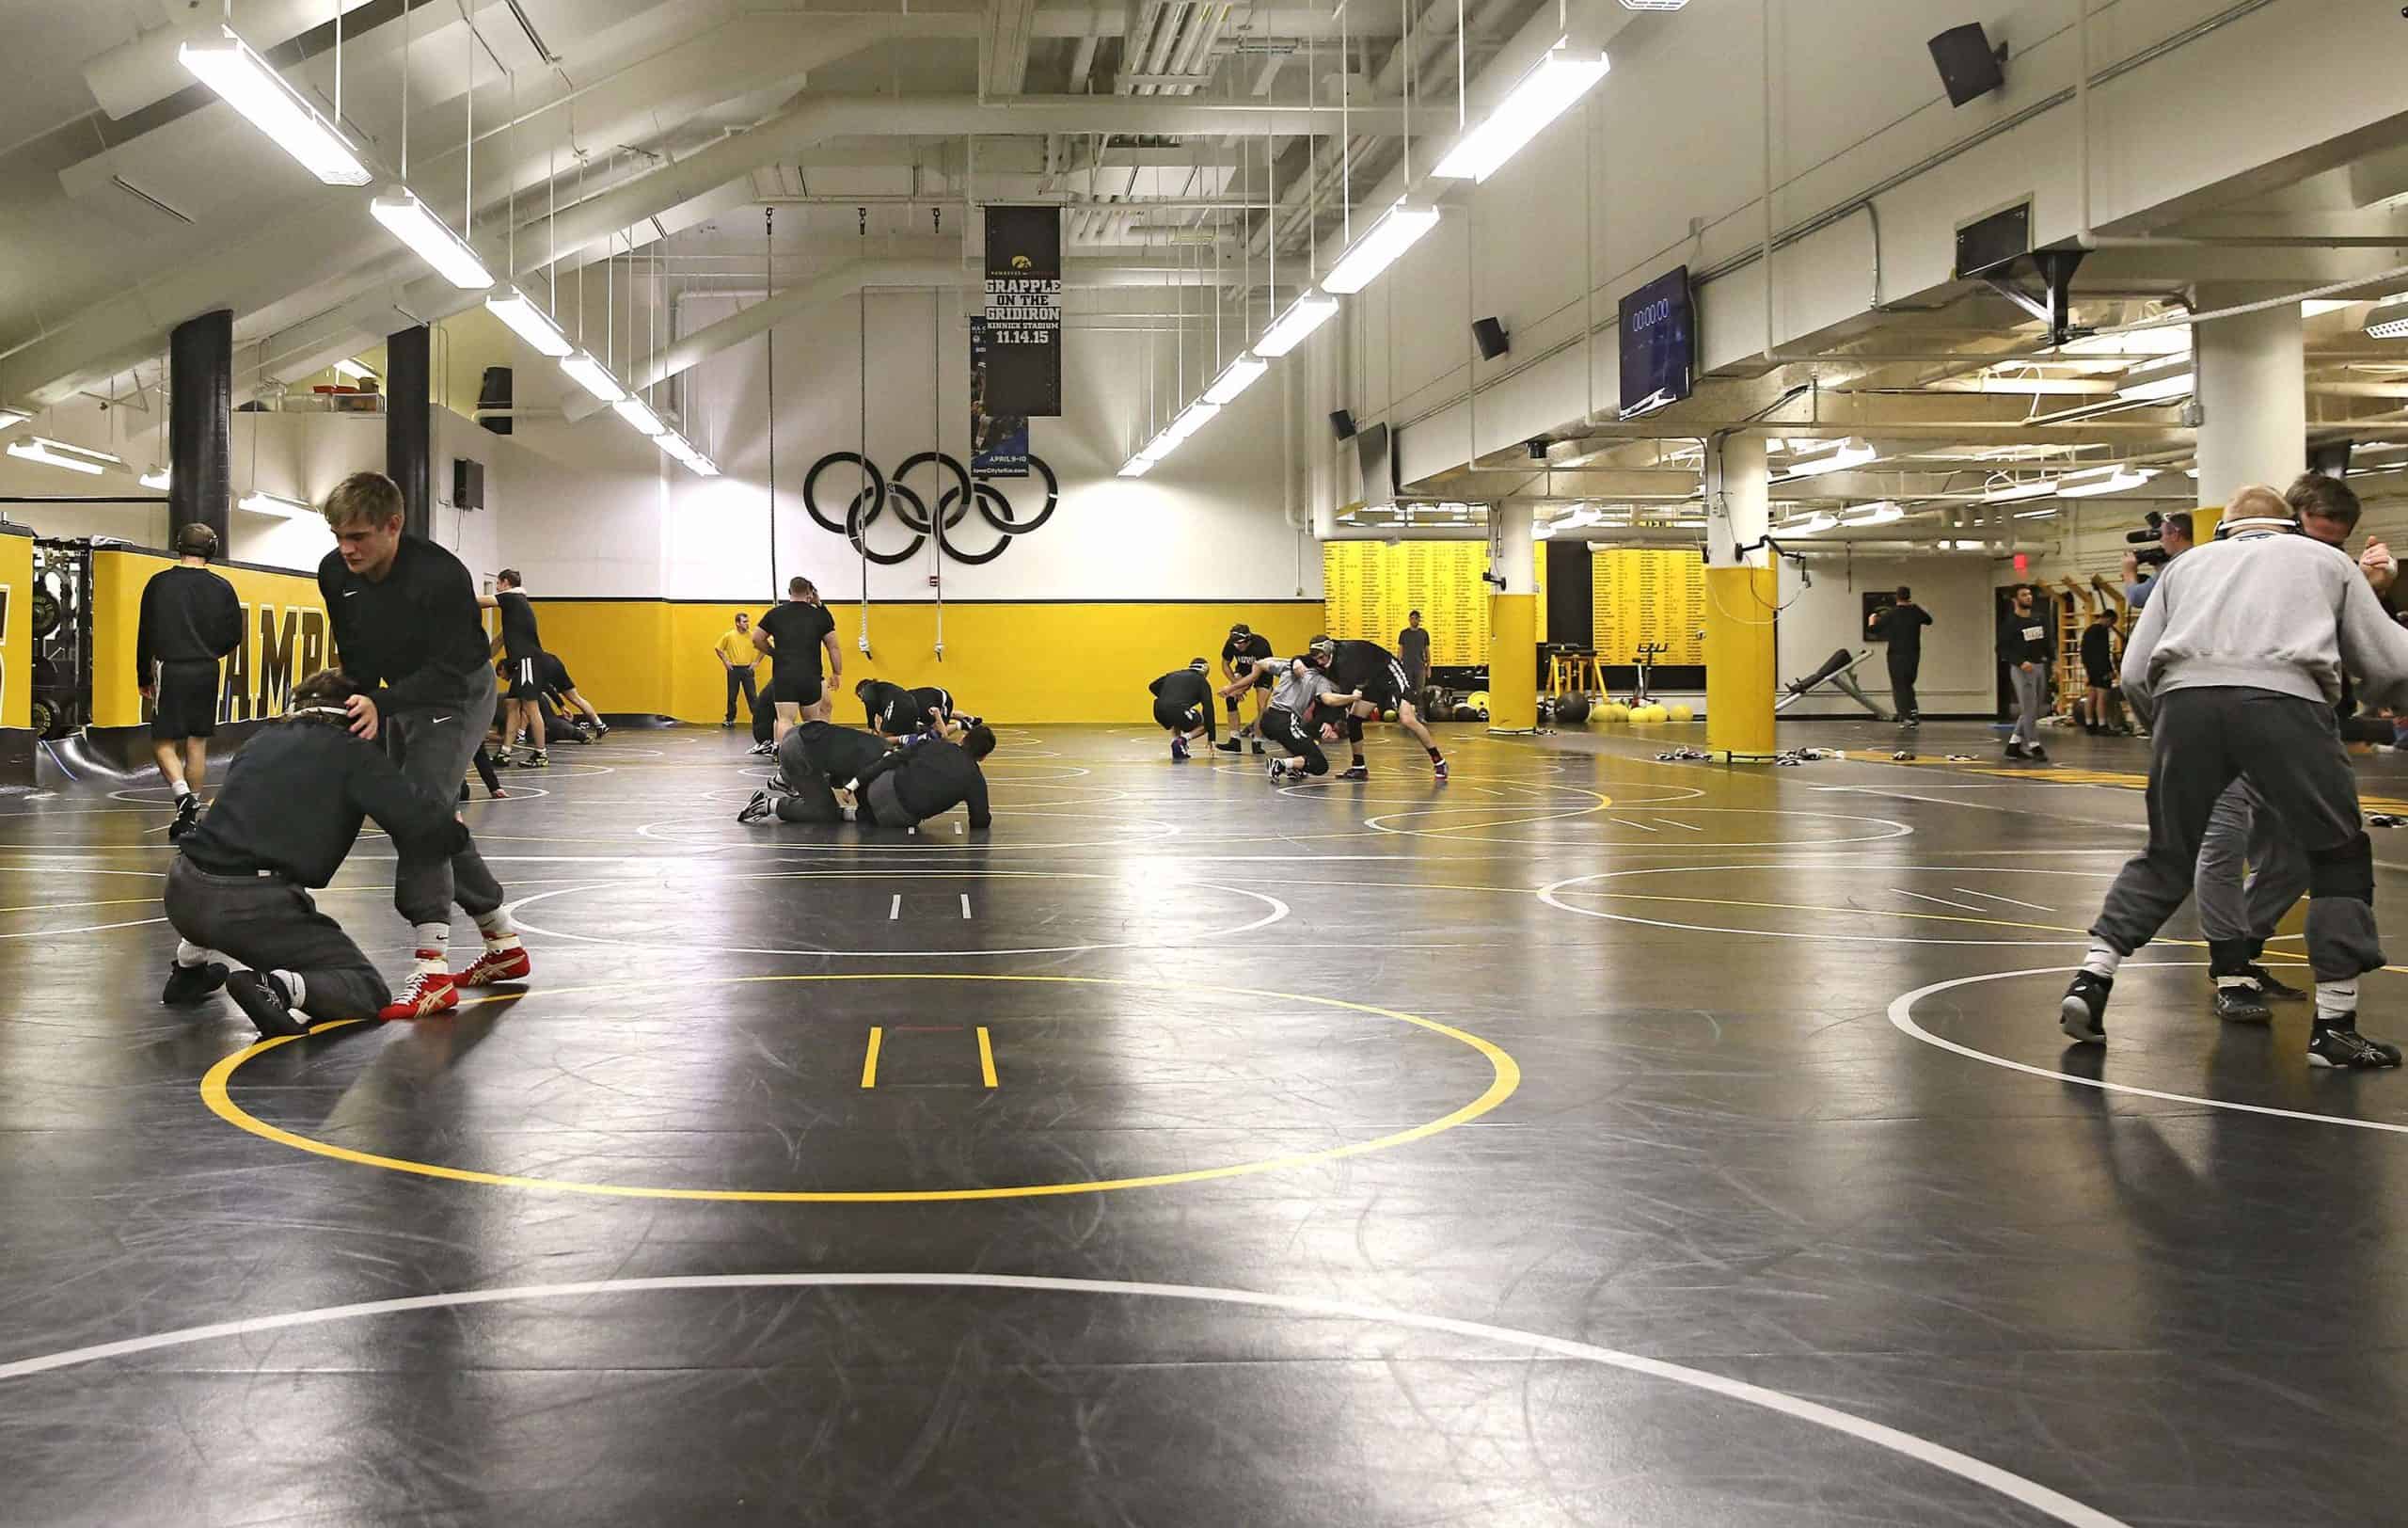
Practicing Takedowns
After you have learned how takedown techniques work and what you should do, now you need to practice them. Practicing takedowns follows a progression from zero resistance (drilling) to full resistance (high intensity sparring). We will explore this progression.
Drilling
The first step to practicing takedowns is practicing them against your training partner without resistance. You will perform the takedown sequence and your training partner will give you the reactions you are looking for.
Drilling allows you to perform the takedown without the stress of dealing with resistance. You can slow the movement down and focus on performing it correctly. Drilling allows you to identify which part of the takedown you are performing well and which part you are struggling with.
During drilling your coach will walk around the wrestling room and identify your strength and weaknesses and give you tips on what you need to improve on.
Drilling allows you to practice a takedown over and over again in a quick period of time which helps your body ingrain the movement into its muscle memory.
Play Wrestling
After drilling it is time to move onto the next phase of learning a takedown. Drilling is a great way to start learning a takedown but wrestling is completely different when you add resistance. Just because you can perform a takedown perfectly without resistance does not mean you will be able to perform the takedown with resistance. As the ultimate goal of wrestling is to execute takedowns in a match you need to slowly add resistance to your training.
The first step to adding resistance is play wrestling. In play wrestling your opponent will move around and offer 20-40% resistance. They won’t just let you execute the takedown like in the drilling phase but they won’t resist too hard.
Play wrestling is a very important step in learning takedowns. If you add too much resistance you will struggle to go from the drilling stage to performing takedowns in sparring or competition. Play wrestling offers a happy medium between drilling and hard sparring.
Play wrestling can reveal what aspects of the takedown you need to work on but still allows you to practice in a low stress calm environment which is optimal for learning new skills.
Play wrestling is great fun. Athletes learn the most when they are having fun. Unfortunately not enough wrestling programs incorporate play wrestling. The thing to remember when play wrestling is not to become too competitive ( it isn’t about winning) and keep the intensity low. You often see 2 wrestlers start off play wrestling and then within 5 mins they are dripping in sweat and going 100%. Keep it relaxed, low intensity and fun.
Kyle Dake and David Taylor Play Wrestling
Sparring
Once you have successfully executed the takedown numerous times while play wrestling it is time to increase the intensity to prepare you to perform the takedown in competition. This phase of training is known as sparring. Sparring can take 2 forms, positional or free and usually takes place at between 70%-90% intensity.
Positional
Positional sparring involves starting in a specific position and wrestling from there. Typically once someone scores the wrestlers will reset in the same position they started in.
For example wrestler A might start on a deep single leg and the the two wrestlers will go live until either wrestler A completes the single leg or wrestler B escapes. Once that happens the two wrestlers will restart in the single leg position.
The main benefit of positional sparring is it allows you to practice a specific takedown over and over again against significant amounts of resistance. Positional sparring allows you to breakdown a takedown and lets you practice a part of the takedown.
For example if you struggle to finish a single leg the above example of starting on a deep single leg can help you quickly improve your finishing ability as you will get lots of reps focusing on your weak point. The more you practice something the better you will become at it.
The downside of positional sparring is that it is artificial. Practicing finishing single legs is great but what if you never end up in that position in the first place. To make positional sparring effective you need to practice takedowns you actually use in competition and not neglect the entire movement from set up, shot to finish.
Free
Free sparring is a mock match where wrestlers will wrestle from any position until the period ends. The main benefit of free sparring is it closely simulates a match. If a wrestler can consistently hit takedowns in free sparring then their chance of hitting takedowns in a match are very high.
The most effective form of training is highly specific training and you can’t get much more specific then free sparring as wrestlers follow the same rules as in competition and wreslte for the same length of time.
The downside to free sparring is because the intensity is so high and the atmosphere is very competitive wrestlers will typically just use their best techniques. They will be reluctant to try out the new takedowns they have learned. This can lead to athletes’ progress stalling. A combination of play wrestling and positional sparring can get athletes more comfortable with new takedowns and make them more likely to go for them in free sparring.
The other downside of free sparring is the risk of injury. Wrestling is a high intensity sport where athletes are falling on each other and rapidly changing directions. As free wrestling is performed at a high intensity there is a chance of injuries occurring. Due to this coaches need to limit the amount of free sparring and foster a culture of safety.
Conclusion
Learning takedowns can be tricky. The best way to learn takedowns is to start off drilling them against a training partner without any resistance. Once you have practiced the move many times and your technique is sufficient you can start adding resistance by play wrestling with your partner. If your technique can handle the resistance you can then transition to positional sparring at 60%-80% intensity before finally free sparring at 70%-90% intensity.